
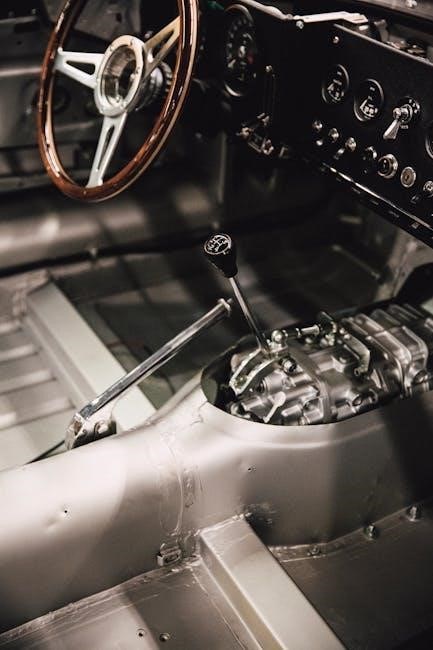
manual transmission shifter bushing
The manual transmission shifter bushing is a small but crucial component ensuring smooth gear shifts․ Its wear can lead to sloppy shifting and mechanical issues, necessitating regular maintenance․
1․1 Overview of Manual Transmission Components
A manual transmission system comprises several essential parts, including gears, bearings, the clutch, and linkages․ The shifter bushing is a critical component, ensuring smooth gear transitions by stabilizing the shifter mechanism․ Proper functioning of these components is vital for efficient power transfer from the engine to the wheels, enabling precise control over speed and torque during driving․
1․2 Importance of the Shifter Bushing in Manual Transmissions
The shifter bushing plays a pivotal role in maintaining precise gear alignment and smooth shifting․ It absorbs vibrations and minimizes wear on other components; A worn bushing can cause imprecise shifts, leading to mechanical stress and potential failures․ Regular inspection and timely replacement are essential to ensure optimal transmission performance and driver control, preventing costly repairs and enhancing overall driving experience․
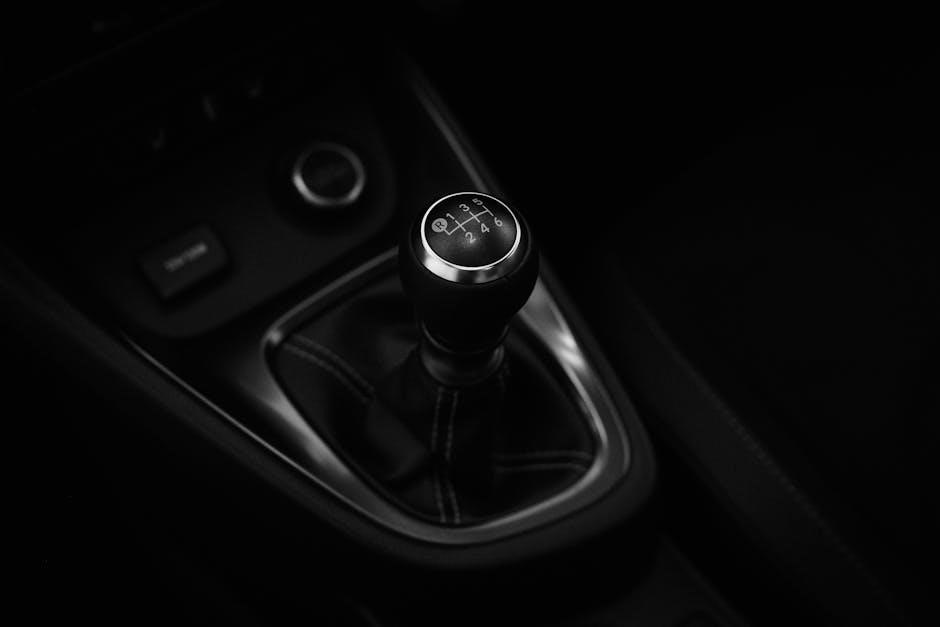
What is a Manual Transmission Shifter Bushing?
A manual transmission shifter bushing is a component located in the shifter mechanism, playing a key role in gear alignment and smooth shifting․ It ensures precise control during gear changes by providing a stable connection point․
2․1 Function and Purpose of the Shifter Bushing
The shifter bushing serves as a critical connector between the gear shifter and the transmission linkage․ Its primary function is to provide a smooth, precise connection, allowing drivers to engage gears effortlessly․ By absorbing minor misalignments and vibrations, it ensures consistent shifting performance and prevents mechanical wear, enhancing overall driving efficiency and control․
2․2 Materials and Construction of Shifter Bushings
Shifter bushings are typically made from durable materials like polyurethane, rubber, or nylon, chosen for their resilience and ability to absorb vibrations․ Some bushings feature metal inserts for added strength․ The construction is designed to provide a snug fit within the shifter mechanism, ensuring precise movement and durability․ High-quality bushings often include grooves or textures to enhance alignment and reduce lateral movement, optimizing performance․
Symptoms of a Worn-Out Shifter Bushing
A worn-out shifter bushing often causes loose or sloppy gear shifts, grinding noises, and difficulty engaging gears, leading to an overall rough driving experience․
3․1 Common Issues Caused by a Failing Shifter Bushing
A failing shifter bushing can cause loose or sloppy gear shifts, grinding noises during gear changes, and difficulty engaging gears․ Drivers may also experience vibrations or uneven transmission performance․ Over time, this can lead to accelerated wear on other transmission components, potentially causing more severe mechanical issues if left unaddressed․ These symptoms often result in a less responsive and less controlled driving experience․
3․2 How to Diagnose Shifter Bushing Wear
Diagnosing a worn shifter bushing involves inspecting for visible wear, such as cracks or excessive movement․ Test driving the vehicle can reveal sluggish or uneven shifting․ Additionally, listening for unusual noises during gear changes and checking for play in the shifter linkage are effective methods․ A professional mechanic may also use specialized tools to assess the bushing’s condition accurately and recommend necessary repairs․ Regular inspection is key to early detection․
Replacement Guide for Manual Transmission Shifter Bushing
A step-by-step guide outlining the process to replace a worn shifter bushing, ensuring proper tools and techniques are used for a secure and efficient installation․
4․1 Step-by-Step Replacement Process
Start by removing the old bushing, ensuring the transmission is secure․ Clean the area thoroughly․ Align the new bushing with the shifter mechanism and press it into place firmly․ Use a hammer or specialized tool if needed․ Reassemble all components, ensuring proper alignment․ Test the shifter for smooth operation and verify there are no loose parts․ Double-check for any signs of wear or misalignment․
4․2 Tools and Materials Required for Replacement
To replace the shifter bushing, you’ll need basic tools like pliers, screwdrivers, and wrenches․ A bushing removal tool or slide hammer may be necessary for extraction․ Ensure you have the new bushing, a small amount of grease, and a C-clamp for secure installation․ Additional materials like a punch or drift can aid in alignment․ Gather all tools beforehand to streamline the process and avoid delays․
Locating and Inspecting the Shifter Bushing
Locate the shifter bushing underneath the vehicle, near the gearshift and connected to the transmission․ Inspect for wear, cracks, or looseness, ensuring proper function and alignment․
5․1 Identifying the Shifter Bushing in Your Vehicle
The shifter bushing is typically located near the gearshift assembly and connected to the transmission․ It appears as a small, rubber or polyurethane component, often seated in a metal sleeve․ To identify it, refer to your vehicle’s repair manual or consult a diagram․ Look for wear patterns or movement around the gearshift․ Proper identification ensures accurate inspection and prevents confusion with similar components nearby․
5․2 Visual Inspection and Assessment
Inspect the shifter bushing for cracks, excessive wear, or deformation․ Check for dirt or debris accumulation around the component, as this can indicate improper alignment or deterioration․ Look for signs of looseness or movement when shifting gears, which may signal wear․ If the bushing appears damaged or loose, replacement is necessary to maintain smooth transmission operation and prevent further damage;

Removing the Old Shifter Bushing
Use specialized tools to safely remove the old bushing, ensuring no damage to surrounding components․ Proper preparation and technique are essential for a successful extraction process․
6․1 Preparing the Vehicle for Bushing Removal
Before removing the shifter bushing, ensure the vehicle is on level ground and apply the parking brake․ Disconnect the battery to prevent accidental startups․ Drain transmission fluid if necessary․ Remove any components obstructing access, such as the center console or shift knob․ Consult a repair manual for specific instructions tailored to your vehicle’s make and model․ Wear protective gear and ensure good lighting for visibility․
6․2 Safe Removal Techniques to Avoid Damage
- Use a punch or drift to gently pry the bushing from its housing, avoiding force that could damage nearby components․
- Apply penetrating oil if the bushing is stuck, letting it sit to loosen corrosion․
- Gently heat the area with a heat gun to expand metal, easing removal without damaging the bushing or transmission․
- Avoid using hammers or chisels, as they may cause irreversible damage to the shifter or surrounding parts․
- Work slowly and carefully to prevent scratching or bending sensitive components․

Installing the New Shifter Bushing
Align the new bushing with the housing, ensuring proper seating․ Gently tap it into place using a drift or punch, avoiding force that could misalign it․
7․1 Proper Alignment and Fitting Techniques
Proper alignment is critical when installing the new shifter bushing․ Ensure the bushing is seated evenly in its housing, using a drift or punch to guide it into place․ Avoid forcing it, as this could cause misalignment․ Use a rubber mallet to gently tap it in, ensuring it sits flush with the surrounding surface․ Double-check alignment with the gear lever to ensure smooth operation․
7․2 Securing the New Bushing in Place
Once the bushing is properly aligned, apply a small amount of threadlocker to the retaining screws․ Tighten them evenly in a star pattern to avoid misalignment․ Ensure the torque specifications are met without over-tightening, which could damage the housing․ Allow the threadlocker to set for a few minutes before testing the shifter to confirm smooth, precise movement, ensuring the bushing is securely fastened․
Testing the Transmission After Replacement
After installing the new bushing, test the transmission by shifting through all gears smoothly․ Ensure there are no grinding noises or hesitation, confirming proper function and alignment․
8․1 Ensuring Smooth Gear Shifting Post-Replacement
After replacing the shifter bushing, test the transmission by shifting through all gears․ Listen for smooth, quiet transitions․ Avoid abrupt movements․ Check for any signs of hesitation or grinding, which could indicate improper alignment or installation issues․ Ensure the clutch is fully disengaged before shifting to maintain smooth operation and prevent further wear on components․
8․2 Checking for Any Remaining Issues
After replacement, inspect the shifter mechanism for proper alignment and tightness․ Test all gears, listening for unusual noises or vibrations․ Ensure the shifter moves smoothly without play․ If issues persist, check the bushing installation or seek professional assistance to avoid further damage․ Addressing problems promptly ensures optimal performance and prevents premature wear on other transmission components․

Maintenance Tips to Extend Bushing Life
Regular inspection and lubrication of the shifter bushing can extend its lifespan․ Cleaning the area and ensuring proper alignment during installation prevent premature wear․ Avoiding aggressive shifting habits also helps maintain the bushing’s integrity and ensures smooth gear transitions․
9․1 Regular Inspection and Lubrication
Regular inspection of the shifter bushing every 6-12 months is essential to identify early signs of wear․ Lubricate the bushing with high-quality grease to reduce friction and prevent corrosion․ Clean the area thoroughly before applying lubricant to ensure optimal performance․ Inspect for cracks, excessive wear, or looseness, as these indicate the need for replacement․ Proper lubrication enhances shifting smoothness and extends the bushing’s lifespan․
9․2 Avoiding Practices That Accelerate Wear
Avoid aggressive or abrupt shifting, as it can stress the bushing․ Refrain from resting your hand on the gearshift while driving, as the constant pressure accelerates wear․ Use the correct gear for your speed to reduce strain․ Avoid excessive force when shifting into reverse or first gear․ Proper driving techniques, such as smooth acceleration and full clutch engagement, help extend the bushing’s lifespan and prevent premature wear․

Cost and Availability of Shifter Bushings
Shifter bushings are affordable, typically priced between $5 and $20, depending on quality and brand․ They are widely available at auto parts stores and online retailers․
10․1 Price Range for Replacement Bushings
Manual transmission shifter bushings are generally affordable, with replacement costs ranging from $5 to $20, depending on the vehicle’s make, model, and bushing quality․ High-performance or specialized bushings may cost slightly more, up to $30, but are still relatively inexpensive compared to other transmission components․ Prices vary by retailer, but online stores often offer competitive deals, making it easy to find a suitable replacement within budget․
10․2 Where to Purchase High-Quality Bushings
High-quality manual transmission shifter bushings can be purchased from reputable auto parts retailers, both online and in-store․ Popular options include Amazon, RockAuto, and Summit Racing, which offer competitive pricing and genuine products․ Specialty stores like Jegs and manufacturer-authorized dealers also provide reliable options․ Ensure to purchase from trusted sellers to guarantee authenticity and warranty coverage for your vehicle’s specific needs․
The manual transmission shifter bushing plays a vital role in smooth gear shifting․ Regular inspection and timely replacement ensure optimal performance and prevent mechanical issues․
11․1 Summary of Key Points
The manual transmission shifter bushing is a critical component ensuring smooth gear transitions․ Regular inspections and timely replacements are essential to maintain optimal performance․ Identifying symptoms like loose shifting or noise early can prevent major repairs․ Proper installation and alignment of the bushing are vital for functionality․ By following maintenance tips and avoiding harmful practices, drivers can extend the bushing’s lifespan and ensure reliable transmission operation․
11․2 Final Thoughts on Shifter Bushing Maintenance
The shifter bushing plays a vital role in smooth gear transitions, and its maintenance is essential for transmission health․ Regular inspections and proper lubrication can extend its lifespan․ Avoiding aggressive driving habits and addressing wear promptly prevents costly repairs․ Investing in high-quality bushings and ensuring correct installation are key to reliable performance․ Proper care ensures smooth, precise shifting and long-term transmission durability․